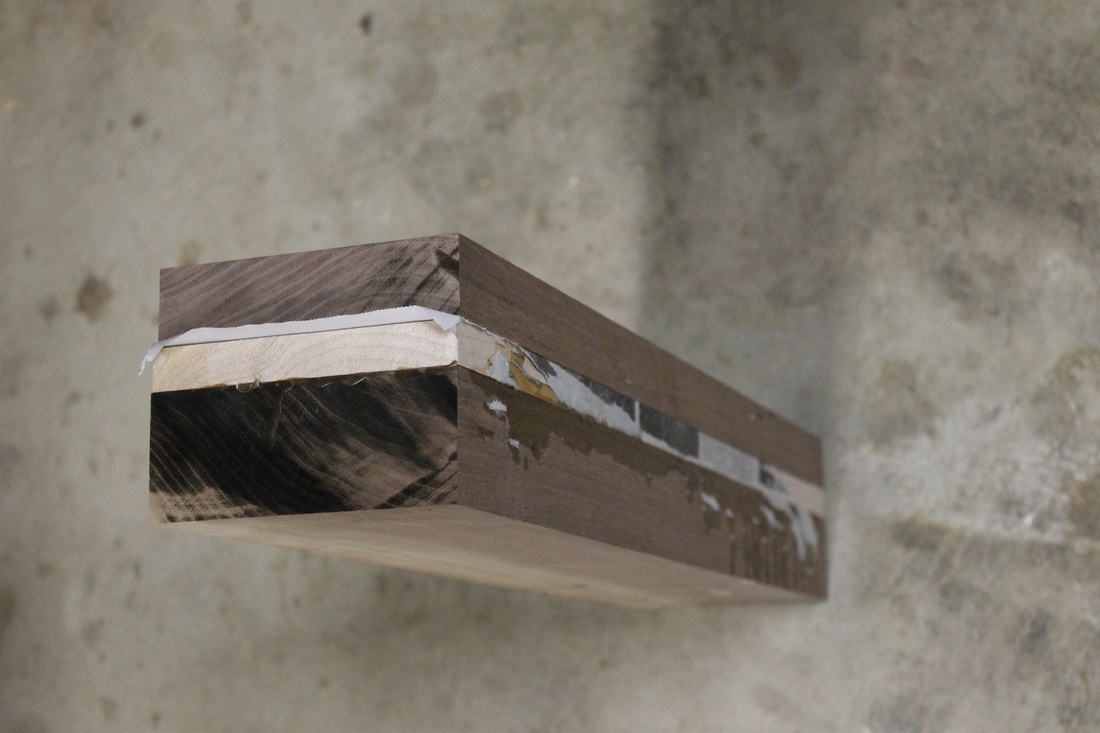
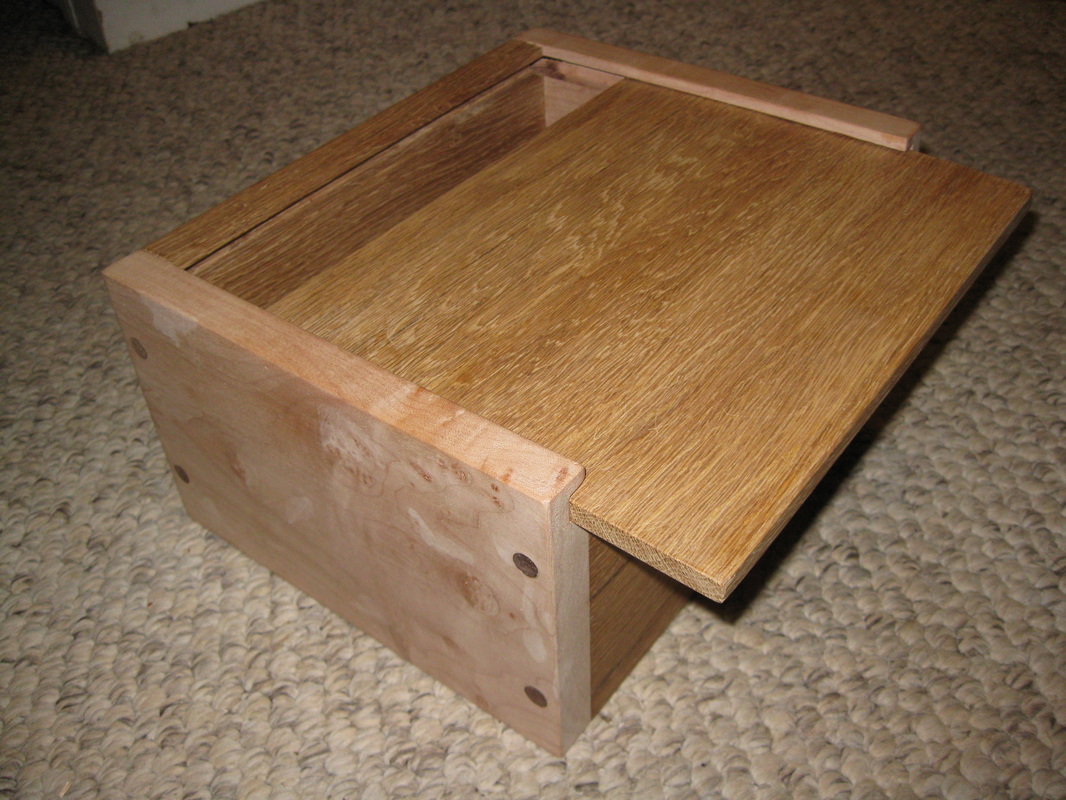
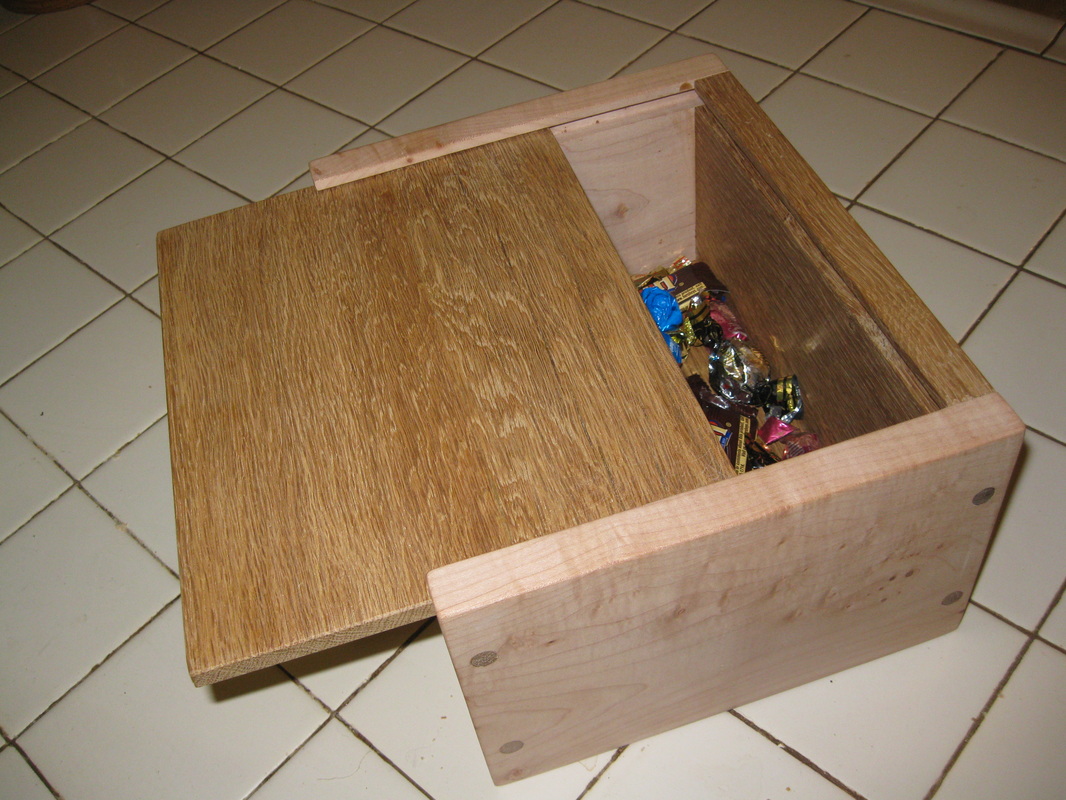
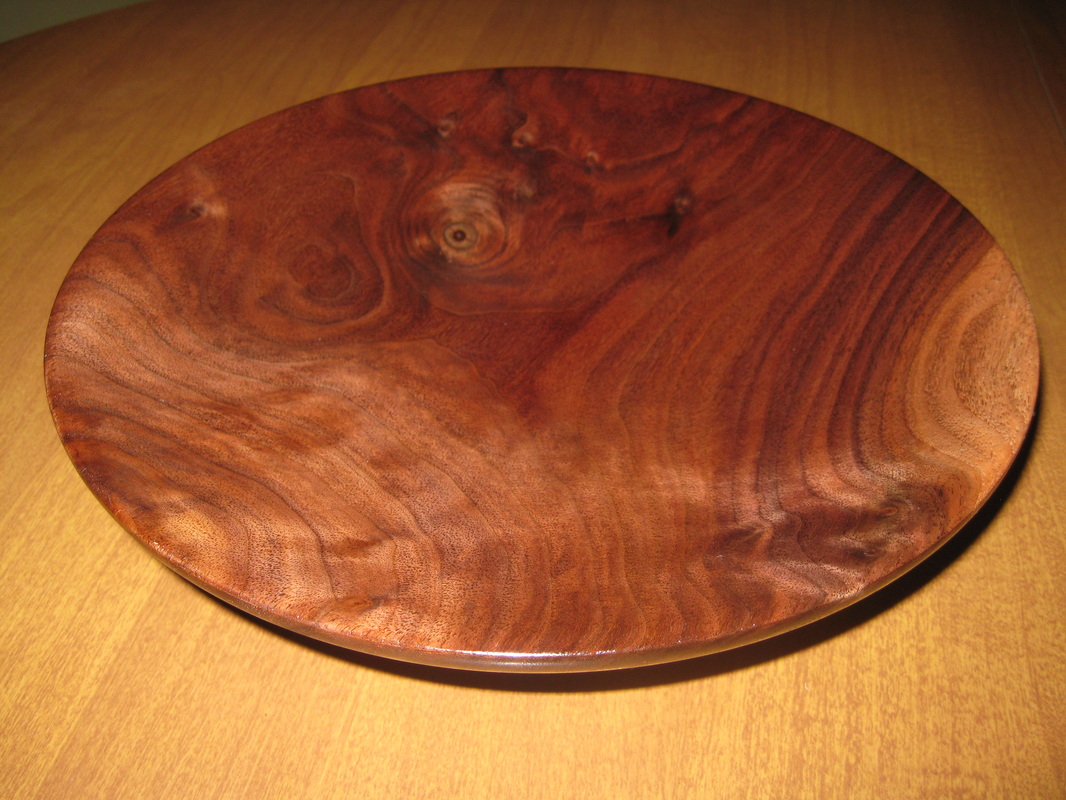
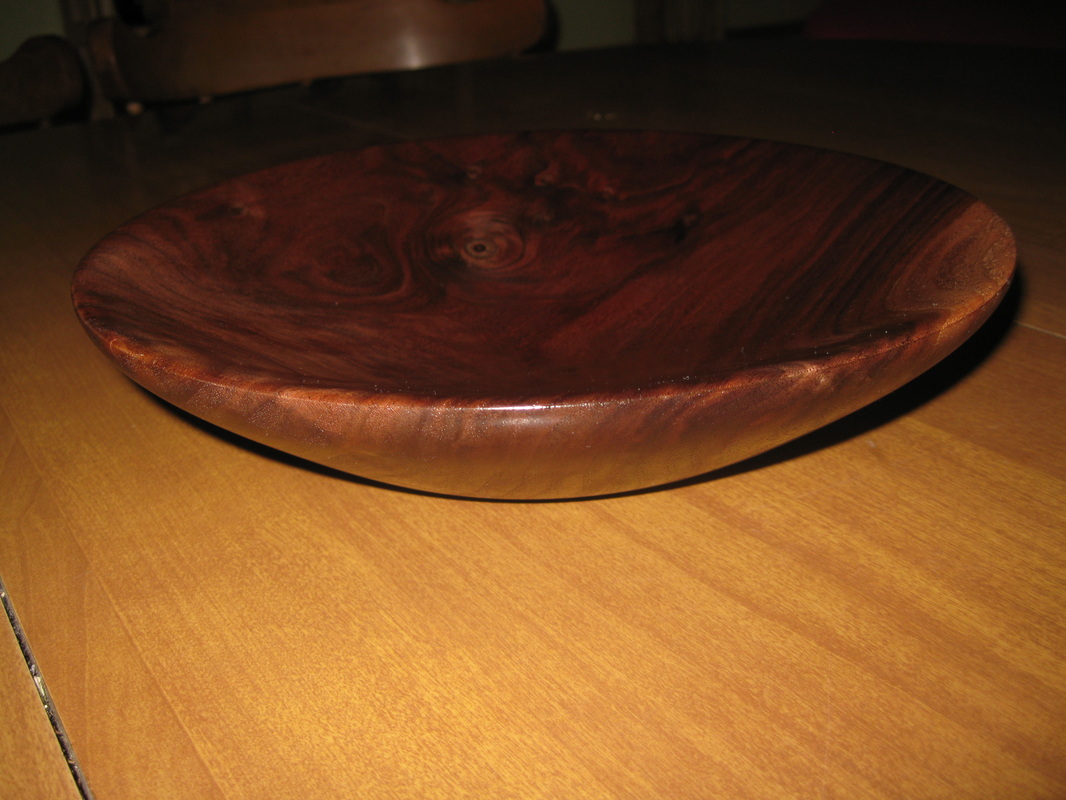
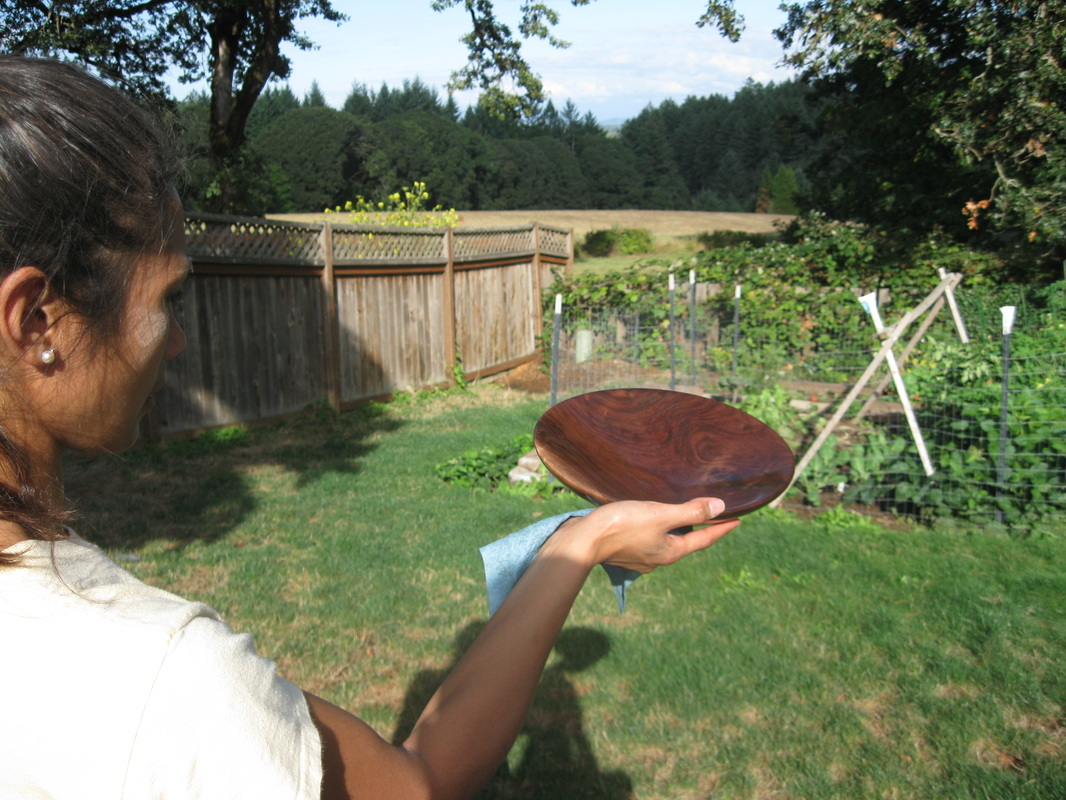
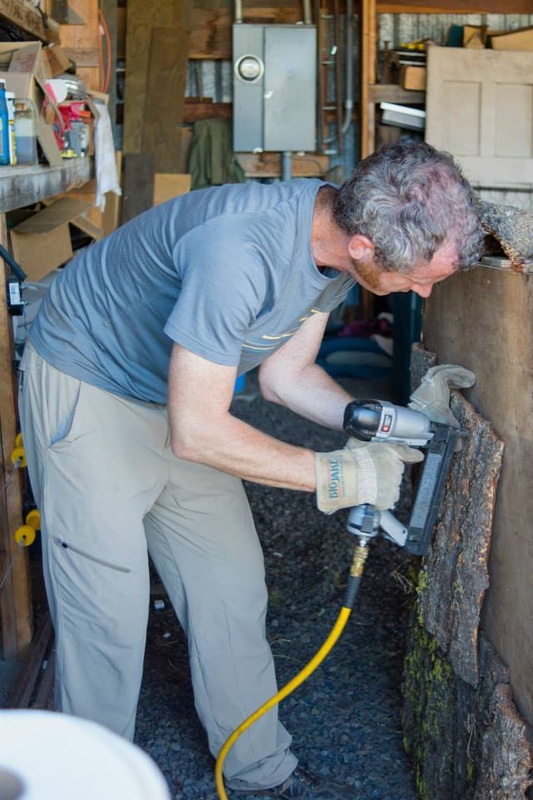
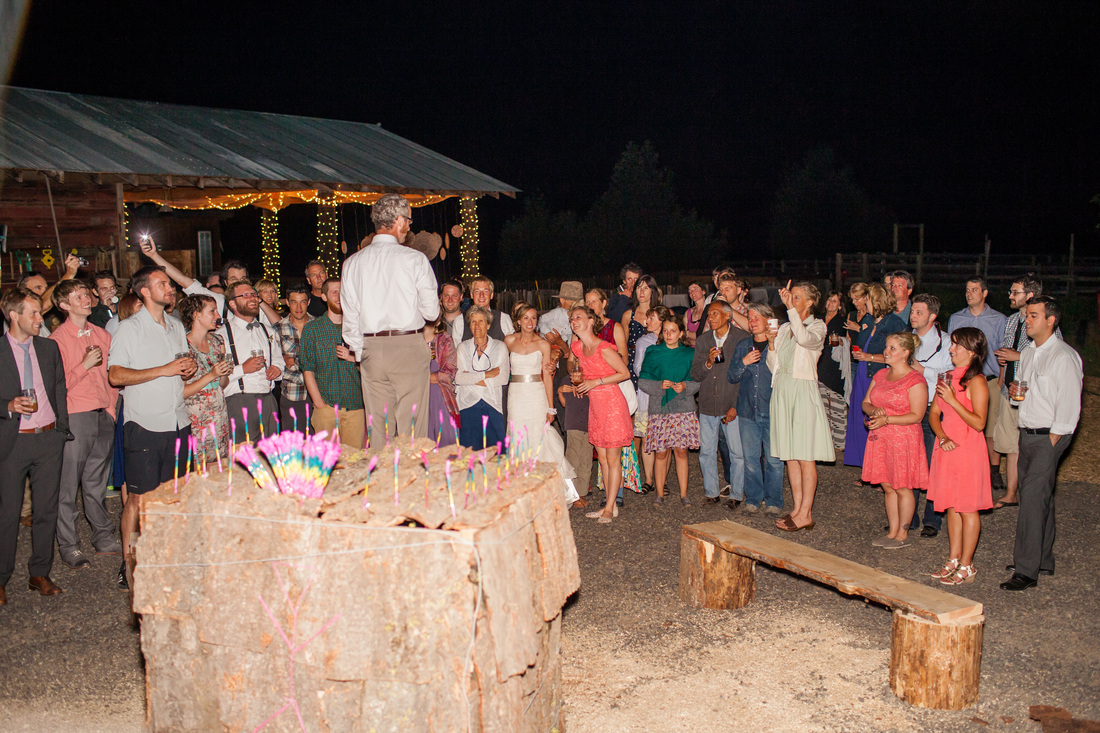
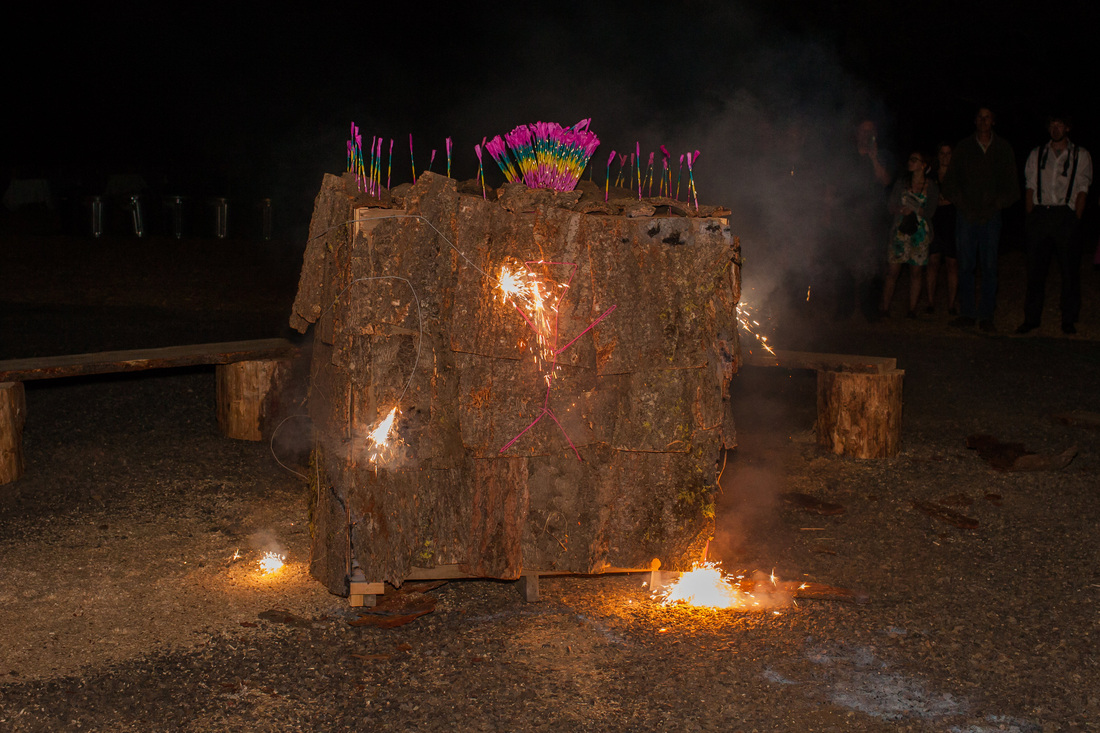
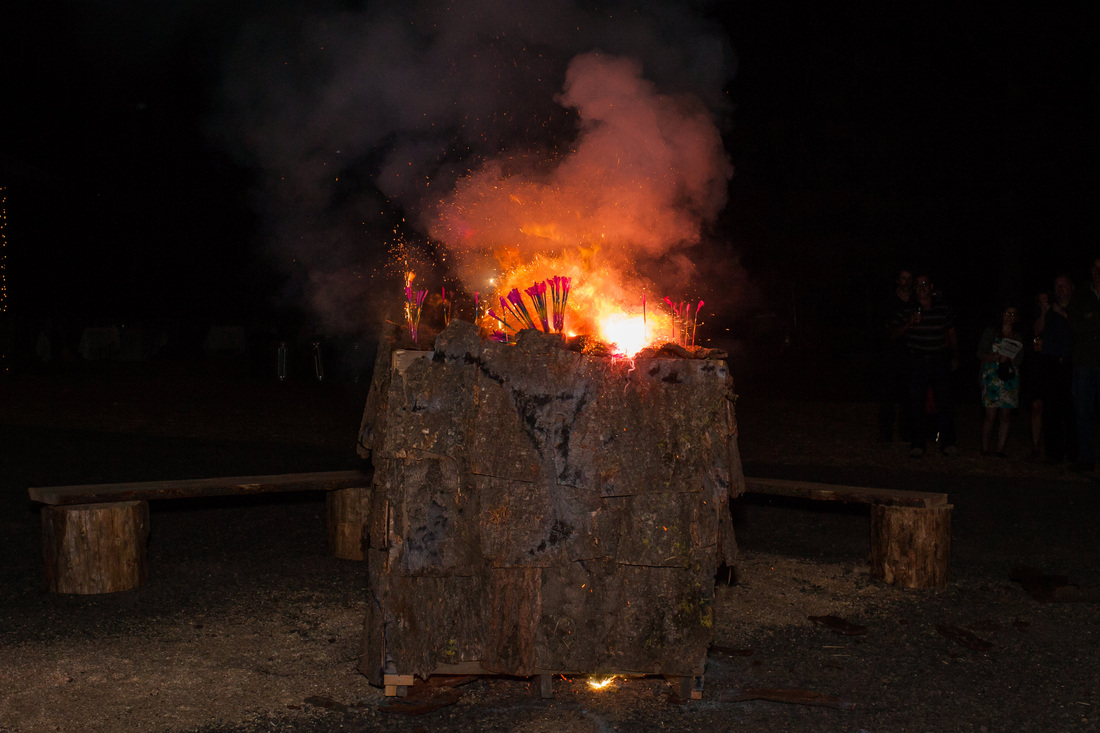
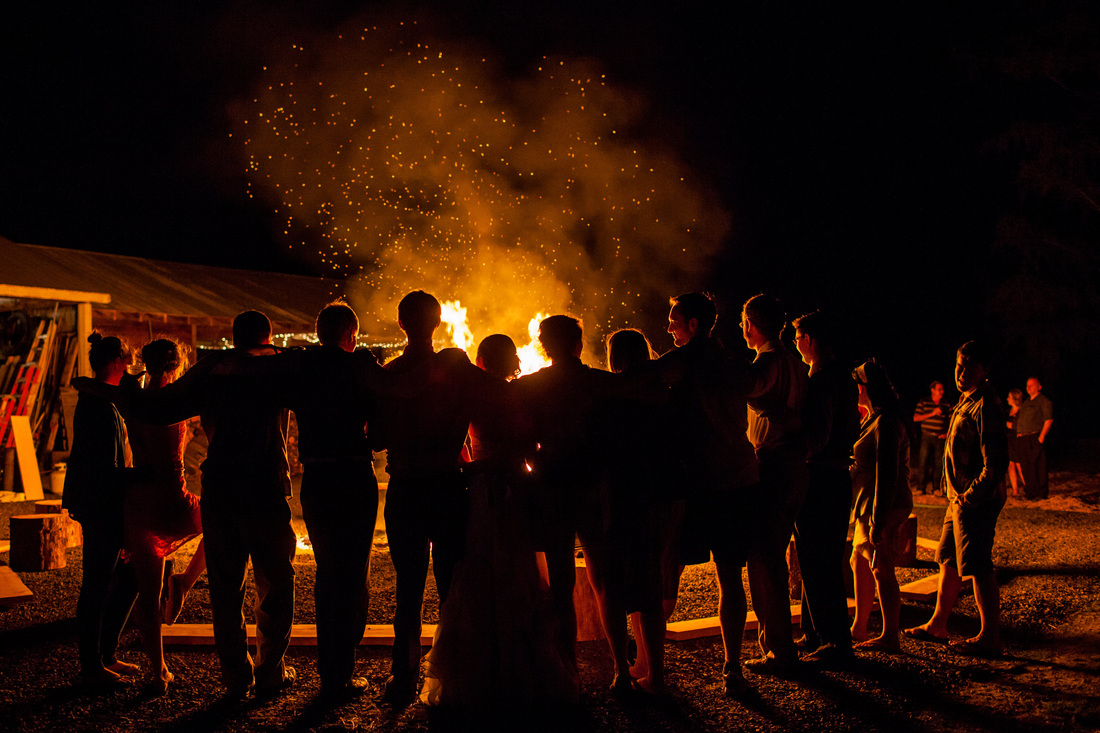
 In late March I bought 5 chicks from Denson's in Corvallis. Building the coop took about two months of casual work and $400 of purchased materials. The eggs will payback the cost of the coop in about 3 years, but the chicken shit will help my compost pile break down bags of sawdust from woodworking projects. Feeding chickens chickens pill bugs and worms is embarrassingly entertaining. These chicks are entertaining to feed, but they stink and need secure space provided by a chicken coop and run. Their coop should provide shelter from wind/rain, easy to refill food/water, a place to roost/lay, artificial light to promote winter egg laying, and most importantly an easy method to clean chicken shit from the coop and run. Over the past few year's I've made many frames for my family and friends. I've developed a standard process for these frames that lets me setup the equipment once, and then run material for 10 frames through that stage. Here's the general process. Create your frame pieces. Use the jointer, planer, and tablesaw to get your rough pieces. Here's my formula to get the rough dimensions for the pieces needed to frame an 8x10 picture with no matting. 8" + 2 * FrameWidth - 2*Overlaps + 2 * MattingWidth + ~1" This would be 8" for the height of the picture, 2 frame widths to cover the miter joints, 2 overlaps that hold the picture and glass against the frame, and about an inch extra for error. My frames are usually 1.5" to 3" wide, with .25" overlaps, and with a 1" matting width. The extra inch is to give some room for error during the processes leading to the miter cuts. This example frame would have 8" + 2*1.5" - 2*.25" + 2*0" + 1" = 11.5" and 13.5" pieces Here's a link to a thorough guide on how to use the jointer and planer effectively: Jointer & Planer Website. Use a miter jig to cut the miter angles on the frame pieces. This miter jig fits into the grooves of my tablesaw top, has sandpaper to keep the pieces stationary relative to the jig, and the middle piece has a precise 90 degree angle. This saves so much time and lets me focus on getting the pieces to be the exact same length without worrying about their angle. This jig does wiggle in the tablesaw grooves a bit, labeling a direction to push on the jig everytime gets consistent results. This miter joint spline jig is used to add the grooves into the corners of the frames that accept the spline. Flipping the frame around in the jig produces a spline gap that is centered on the frame. Applying some paste wax to the inside of the jig really helps it slide along the fence. The splines for these frames comes from a scrap of maple cut to the same thickness as the dado cut in the previous step. Cutting triangles out of the maple stock for the picture frame splines reduces the amount of wood needed for this step. Note that the bandsaw guard is raised too high. This is meant to get decent footage of the bandsaw, but the guard should close to 1/8" higher than the stock being cut. Using a flush trimming bit in a router table is more efficient than trying to use a Japanese flush cutting saw. I have 10 frames in this January/February 2014 batch, which makes 40 different splines to trim. Efficiency is important. The champher bit is used in the router table to bevel the tops of the frames. Champfering depth can be used to hide the splines, or to revel them. This champfer highlights the bright maple spline in the darker oak frame. Recently I threw together some boards and made a candy box. The ends are made of maple. The sides, top, and bottom are oak. Lastly the walnut plugs cover the screw holes. This project only used a jointer, planer, and tablesaw. Tonight I became fascinated with the fact that Nick Offerman actually does woodworking, true to his Parks and Recreation character, Ron Swanson. The first YouTube shows his shop and tooling that is used in his shop. I'm currently working on a large sequoia slab table. I'm going to recreate his surfacing jig to work with large slabs. The second YouTube highlights his favorite whiskey and hardwood (American White Oak). A friend of mine came over, and we found some walnut in my garage. After about 7 hours of work with my dull chisels and old shopsmith she finished her walnut bowl. My tools were dull and I don't have jigs to help maintain a good cutting edge. This project should have really taken less than 3 hours to finish. In mid-July I gave two of my wonderful friends a giant burning box for a wedding present. Fuses and sparklers from http://www.cannonfuse.com/ gave this project some special excitement. Bringing people together made this one of my favorite projects, even though this box was burned the day it was made.
This is a once a decade project. My uncle Jim and I drove through our 200 acre forest in the Willamette Valley and selected a convenient maple and oak tree to mill into lumber for future woodworking projects. It took a weekend to cut and haul the logs to the loading landing. Another weekend was spent hauling the logs to the mill (http://www.tanglewoodtimber.com/contact.htm). 3 quick months later the boards were dry and ready to be used for many different woodworking projects. An Iranian friend gave me some advice about how to approach marquetry. This basic example used Walnut for the facial hair and shoes, pine for the denim, maple for the buttons and gloves, and cherry for the hat and shirt. It was coated with black epoxy, sanded down, and then coated in clear epoxy. Future iterations of this project will use techniques covered in this video:
https://www.youtube.com/watch?v=jScr9gAvULU |
AuthorI'm a 3rd generation woodworker that has his shop in a 2 car garage in Corvallis, Oregon. Working on projects is fun. Archives
April 2016
Categories |


 RSS Feed
